Cold brew has a reputation for being forgiving, and mostly it is. You put coffee in water, wait, strain it, and drink. There is no bloom to manage, no pour to perfect, no pressure to dial in. But the gap between a batch that tastes sweet and clean and one that tastes like wet cardboard is narrower than the relaxed method suggests. Most of the time, the difference comes down to two numbers and one piece of equipment: how much coffee, how much water, and how fine you grind it. Get those three roughly right and cold brew becomes the most reliable thing in your kitchen.
Work by weight, not by volume. A tablespoon of coffee varies wildly depending on the bean, the roast and how you scoop it, which is why scoop-based recipes drift from batch to batch. A cheap digital scale fixes that in one go. Weigh the water too, since a millilitre of water weighs a gram, so a 1-litre jar is simply 1000 g of water.
For a concentrate you dilute later, start at 1:8. That means 100 g of ground coffee to 800 g of water. It is strong enough to hold its own against milk and ice, and it keeps well because you are not storing a large volume of already-diluted coffee. Steep it, strain it, then dilute roughly 1:1 with water, milk or tonic when you pour.
For cold brew you intend to drink straight from the fridge, start at 1:15. That is 60 g of coffee to 900 g of water, and it lands close to the strength of a normal hot-brewed cup. Many people find 1:12 a happy middle ground: strong enough to pour over ice without turning thin as the ice melts, but drinkable without measuring out a dilution.
Whichever you choose, write it down. The single fastest way to improve your cold brew is to keep a note of the ratio, grind and steep time for each batch, so that when something tastes particularly good you can repeat it rather than guess.
These are starting points, not rules. Choose the one that matches your usual cup and adjust from there.
And measure the dilution, at least the first few times. A concentrate at 1:8 diluted "by eye" with milk is how a perfectly good batch becomes a glass of cold milk with a brown tint.
Cold brew needs a coarse grind, roughly the texture of coarse sea salt or raw sugar. Water sits in contact with the coffee for hours, so the surface area does not need to be large. Too fine a grind and you extract bitterness and fine particles that slip through every filter you own.
If your grinder has settings, aim a step or two coarser than you would use for a French press if you want a cleaner cup, or the same as French press if you like more body. A burr grinder gives you far more consistency than a blade grinder, which produces a mix of dust and boulders; with a blade grinder, pulse in short bursts and accept that some fines are inevitable, then lean on your filtering.
Pre-ground coffee works, but buy the coarsest grind available and use it within a couple of weeks. Cold brew hides staleness better than hot brewing, but it does not erase it.
Twelve to eighteen hours at room temperature is the standard window. In the fridge, add roughly four hours: sixteen to twenty hours, and up to twenty-four if you prefer a rounder, less bright cup. Cold slows extraction, so the fridge version is gentler, lower in acidity and much harder to overdo.
Room-temperature steeping is faster and gives a livelier, slightly more acidic brew. It also punishes neglect. Past about twenty hours on the counter, you start pulling out the dry, woody notes that make cold brew taste flat.
Two practical rules here. Steep in a covered jar or jug so the coffee does not pick up fridge smells, and keep the grounds fully submerged. If they float, give the jar a gentle stir at the two-hour mark, then leave it alone. Stirring repeatedly muddies the brew and slows the filtering later.
Most disappointing home cold brew is a filtering problem, not a recipe problem. Fine sediment in the cup reads as grit and, over time, as bitterness. Do it in two passes.
Store the concentrate in a sealed jar in the fridge and drink it within about a week. It will not spoil quickly, but the flavour does flatten.
Taste before you dilute, and taste at room temperature rather than ice cold, where the palate picks up much less. Then use this short guide.
Roast matters too. Dark roasts extract faster and give up their flavour early, so they often taste better with a slightly coarser grind and a shorter steep. Light roasts, especially washed African coffees, benefit from a little more time and a touch more coffee to keep their fruit notes from disappearing behind the water.
Do that twice and you will have a house cold brew you can make without thinking about it — which is, after all, the point of keeping a jug in the fridge all summer.
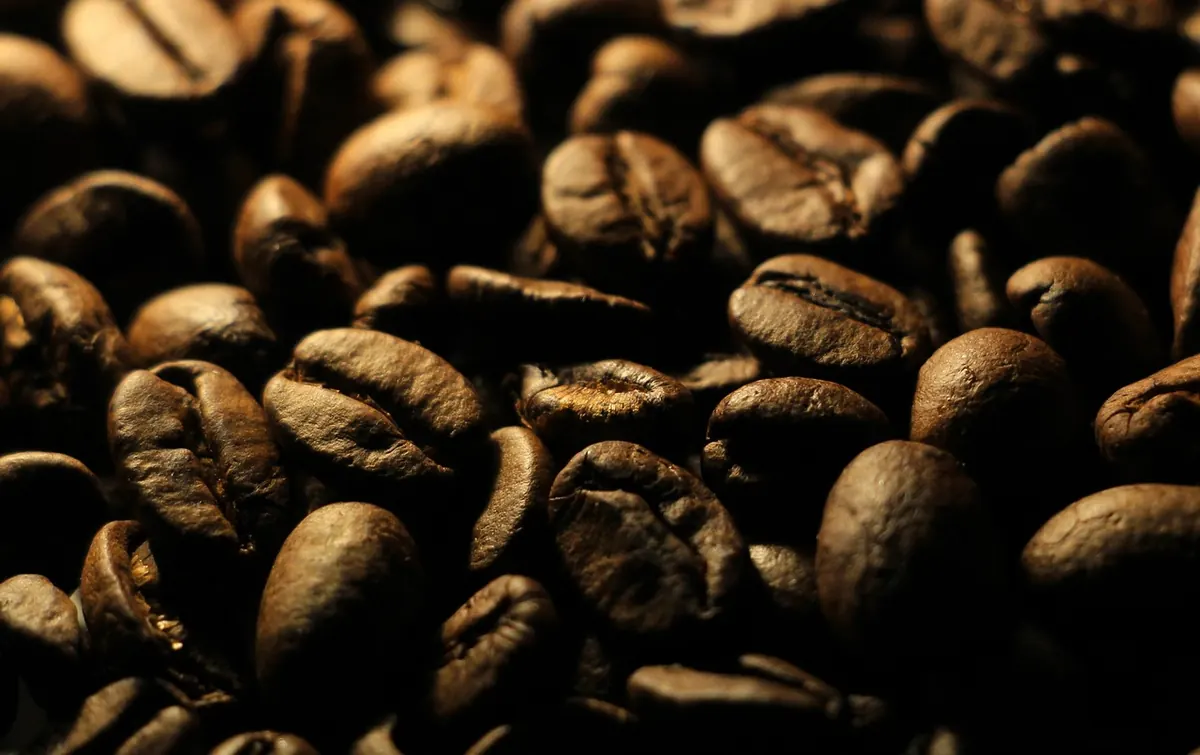
Photo: KIMDAEJEUNG / Pixabay